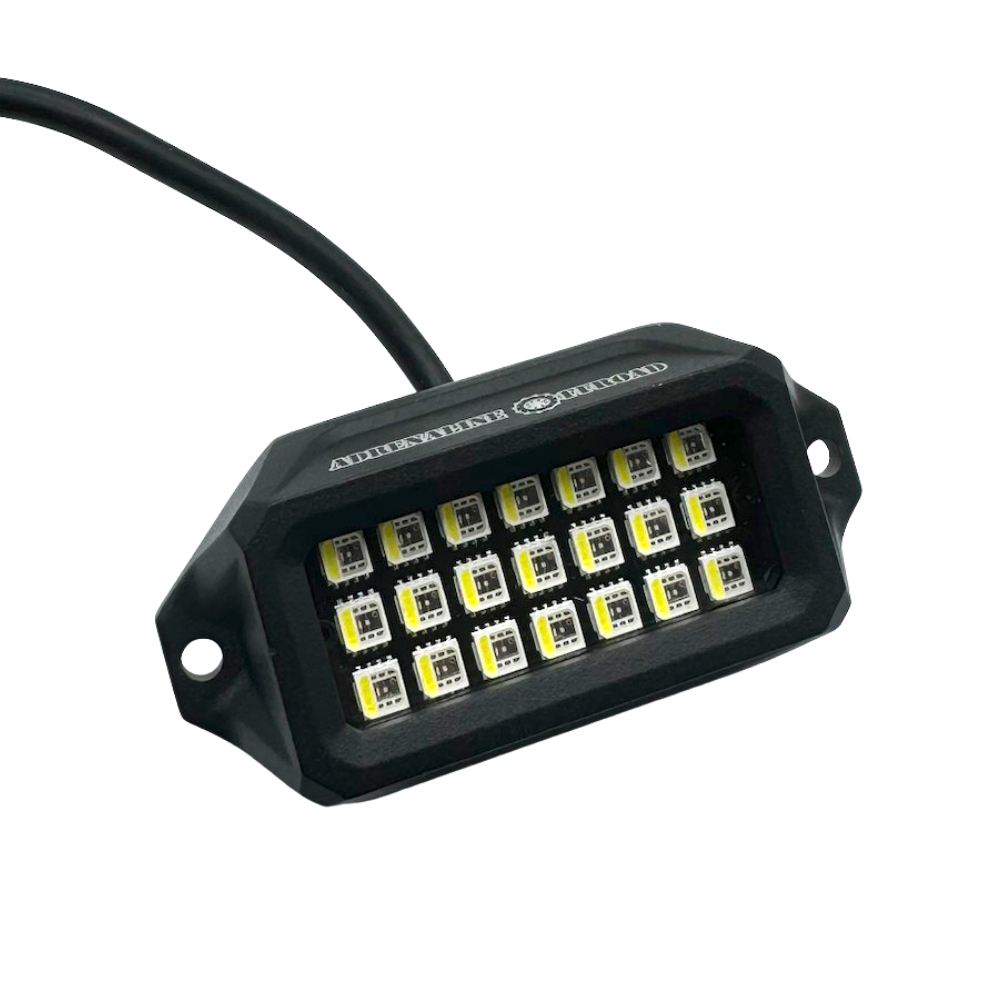

Common Rock Light Installation Mistakes to Avoid
Rock lights are a popular upgrade for truck owners who want better visibility around their vehicle and a custom look at night. But even a quality lighting kit can cause problems if it's installed incorrectly.
Loose wiring, poor mounting locations, uneven light coverage, and exposed connections can lead to flickering, damaged components, or an installation that doesn't look as good as expected.
At Adrenaline Offroad Outfitters, we know that choosing the right rock lights is only part of the process. Proper installation is just as important.
Here are the most common rock light installation mistakes to avoid and how to get your setup right the first time.
1. Choosing the Wrong Mounting Locations
One of the biggest mistakes is installing all your rock lights in the wheel wells without considering the rest of the truck.
Although wheel wells are popular mounting locations, placing every light in the same area can leave dark spots beneath the frame and along the sides of the vehicle.
For more balanced coverage, consider mounting lights in several locations, such as:
- Inside the wheel wells
- Along the frame rails
- Beneath the front and rear bumpers
- Under the chassis, where suitable mounting points are available
The best layout depends on your truck's size, suspension, and desired lighting effect.
For more placement ideas, read our guide to The #1 Best Spot to Mount a Rock Lights Kit.
2. Installing Too Few Rock Lights
Another common mistake is choosing a kit without thinking about the coverage you want.
A small kit may work for a basic setup, but larger trucks and builds that need more even illumination may require additional pods.
Before buying, consider your vehicle size, mounting locations, and whether your priority is trail visibility or a full show-truck glow.
For a practical breakdown of different setups, check out How Many Rock Lights Do You Need? The Complete Guide for Off-Roaders.
Remember, adding more lights doesn't automatically guarantee better results. Strategic placement and even spacing matter just as much.
3. Routing Wires Too Close to Moving Parts
Poor wire routing can turn a clean installation into an electrical problem.
Rock lights are installed underneath the vehicle, where wires may be exposed to suspension movement, steering components, sharp edges, and hot exhaust parts.
If a wire rubs against a moving component, its insulation can wear down over time. A stretched cable can also pull on connectors and cause intermittent lighting problems.
To avoid these issues:
- Keep wires away from moving suspension and steering components.
- Avoid direct contact with exhaust parts and other hot surfaces.
- Secure loose cables with suitable clips or ties.
- Use protective wire loom where appropriate.
- Leave enough slack for normal suspension movement without allowing wires to hang loose.
If your truck has a longer wheelbase or an extended cab, check whether the standard wiring reaches your planned mounting locations.
Our Extension Wiring Guide explains when additional wiring may be needed for different vehicle configurations.
4. Making Poor Electrical Connections
A rock light kit can be mounted perfectly and still perform poorly if its electrical connections aren't secure.
Loose connections can cause flickering, intermittent operation, or lights that stop working altogether.
Before powering up your system, check that:
- Connectors are fully seated.
- Power connections are secure.
- Ground connections are properly established.
- The correct fuse is installed.
- Wiring matches the manufacturer's instructions.
Never assume a connection is reliable just because the lights turn on during the first test.
If your lights start flickering after installation, inspect the wiring, connectors, and power supply before replacing the LED pods. The same basic troubleshooting approach is useful for other truck lighting systems, as explained in Why Are My Wheel Lights Flickering? Common Causes & Fixes.
5. Ignoring Waterproofing and Weather Protection
Rock lights are exposed to water, mud, dirt, and road debris. That's why weather protection should be considered during both product selection and installation.
Even when the lights themselves are designed for wet conditions, exposed or poorly sealed connections can still create problems.
Avoid leaving connectors in locations where water can collect. Follow the manufacturer's instructions for sealing connections, protecting wiring, and mounting the lights.
Before purchasing a kit, check its stated waterproof rating rather than relying on a general claim that it is waterproof.
You can also explore Rock Lights Are More Than Style: Practical Uses and Installation Tips for additional guidance on building a reliable setup.

6. Mounting Lights at the Wrong Angle
Mounting position isn't the only factor that affects coverage. The direction each pod faces also matters.
If every light points straight down, you may get bright spots directly beneath the pods but less coverage between them. If lights point too far outward, they may create glare or waste illumination.
For a more balanced result:
- Aim lights to cover the surrounding ground.
- Space pods to reduce dark areas.
- Check the beam pattern before finalizing the mounting position.
- Test the layout in darkness before securing everything permanently.
Take time to test different angles where the mounting design allows adjustment. A little planning can make a noticeable difference in the final appearance.
7. Skipping the Test Before Final Installation
One of the easiest mistakes to prevent is securing every component before testing the system.
Testing first allows you to identify faulty connections, incorrect wiring, controller problems, or poorly positioned lights before you have to remove mounting hardware.
A better process is to:
- Lay out the lights and wiring.
- Connect the system according to the manufacturer's instructions.
- Test each pod and the controller.
- Check brightness and color modes, if supported.
- Inspect the lighting coverage in a dark area.
- Correct any issues before completing the installation.
Always disconnect power before adjusting electrical connections, and never work beneath a vehicle supported only by a jack.
8. Using Low-Quality Mounting Hardware
Your rock lights need to stay secure through vibration, rough roads, and normal vehicle use.
Using unsuitable screws, weak brackets, or poorly positioned mounting points can allow pods to shift or loosen over time.
Choose mounting hardware appropriate for the vehicle and installation location. Check that each pod is secure without interfering with suspension movement, brake components, or other vehicle systems.
Avoid overtightening fasteners, which can damage mounting points or the light housing.
For the right components and accessories, explore Rock Light Installation Accessories from Adrenaline Offroad Outfitters.
9. Forgetting About Future Maintenance
Even a well-installed lighting system benefits from occasional inspection, particularly if you frequently drive off-road.
Mud, vibration, water, and road debris can affect mounting hardware and wiring over time.
Make it a habit to check:
- Loose mounting screws
- Damaged wire insulation
- Exposed or corroded connectors
- Wires rubbing against vehicle components
- Changes in brightness or color
- Pods that have shifted from their original position
If a light stops working, diagnose the problem before assuming the pod has failed. A damaged cable or loose connector may be responsible.
10. Choosing Lights Without Considering Your Truck Build
Not every rock light kit suits every vehicle or lighting goal.
A daily driver may need a simple, practical setup, while a lifted show truck may benefit from more pods and broader coverage. Off-road vehicles also need careful attention to mounting security and wire protection.
Before choosing a system, consider brightness, color options, waterproofing, controller features, wiring length, and available mounting space.
Our guide, How to Choose the Best Rock Light for Your Truck in 2026, explains what to look for before investing in a new kit.
Rock Light Installation Checklist
Before calling your installation complete, run through this checklist:
- Confirm that every pod is mounted securely.
- Check clearance around steering and suspension components.
- Secure and protect all wiring.
- Verify power, ground, fuse, and connector connections.
- Protect connections according to the manufacturer's instructions.
- Test every light and controller function.
- Check for uneven coverage or unwanted glare.
- Inspect the setup again after your first few drives.
Taking these steps can help prevent avoidable installation problems and reduce the risk of damage.
Final Thoughts
Installing rock lights is about more than mounting LED pods underneath your truck. Proper placement, secure wiring, reliable electrical connections, and suitable weather protection all contribute to a setup that looks good and performs consistently.
By avoiding these common mistakes, you can reduce installation headaches and get more out of your lighting investment.
Adrenaline Offroad Outfitters offers rock light kits and installation accessories for different truck builds. Take time to plan your layout, choose compatible components, and follow the manufacturer's installation instructions before getting started.
Frequently Asked Question
Can I install rock lights myself?
Yes, many truck owners install rock lights themselves if they have the right tools and understand basic vehicle wiring. Follow the manufacturer's instructions and consult a qualified installer if you're unsure about electrical connections or mounting locations.
Where should rock lights be mounted?
Common locations include wheel wells, frame rails, and suitable areas beneath the front and rear bumpers. The best layout depends on vehicle design, clearance, and desired coverage.
Why do my rock lights flicker after installation?
Possible causes include loose connections, poor grounding, damaged wiring, an incorrect power connection, or a controller issue. Check the system according to the manufacturer's troubleshooting instructions before replacing components.
Do rock lights need to be waterproof?
Weather resistance is important because rock lights are exposed to rain, mud, and road spray. Check the product's protection rating and ensure its connections are installed and protected correctly.
How many rock lights should I install on my truck?
The number depends on truck size, pod brightness, mounting locations, and desired coverage. Planning the layout before purchasing helps you avoid dark spots or buying more lights than necessary.
How can I protect rock light wiring off-road?
Route wires away from moving and hot components, secure them with suitable clips, and use protective loom where appropriate. Inspect the wiring regularly, especially after rough trail driving.