
Common Wheel Light Installation Mistakes (And How to Avoid Them)
Installing LED wheel lights is one of the best ways to give your truck a custom look while improving nighttime visibility. Whether you're building an off-road rig or a show truck, a properly installed wheel lighting system can completely transform your vehicle.
However, even premium wheel lights can perform poorly if they're installed incorrectly. Loose wiring, poor mounting, and improper controller placement are just a few of the mistakes that can shorten the lifespan of your lighting system.
At Adrenaline Offroad Outfitters, we've seen countless truck owners upgrade their lighting, and we've also seen the installation mistakes that lead to flickering lights, damaged wiring, and expensive repairs.
This guide covers the most common wheel light installation mistakes and explains how to avoid them.
Why Proper Installation Matters
A quality wheel light kit is only as good as its installation.
Poor installation can lead to:
- Flickering LEDs
- Water damage
- Loose wiring
- Uneven lighting
- Controller failures
- Reduced LED lifespan
- Safety issues
Taking a little extra time during installation helps ensure your wheel lights perform reliably for years.
Mistake #1: Buying the Wrong Size Wheel Lights
One of the biggest mistakes happens before installation even begins.
Many truck owners purchase wheel lights without confirming compatibility with their wheel size.
Choosing the wrong size can result in:
- Poor fitment
- Uneven lighting
- Difficult installation
- Reduced visual impact
Before ordering a kit, make sure you know your wheel diameter and brake clearance.
Mistake #2: Using Low-Quality Hardware
Some installers reuse old hardware or purchase inexpensive mounting brackets that aren't designed for off-road conditions.
Low-quality hardware may:
- Rust quickly
- Loosen over time
- Cause vibration
- Damage wiring
Premium lighting deserves premium installation components.
Using high-quality Controllers & Installation Accessories helps create a safer, more reliable installation.
Mistake #3: Poor Wire Routing
One of the fastest ways to damage a wheel light system is by routing wires incorrectly.
Avoid placing wiring near:
- Brake rotors
- Suspension movement
- Sharp metal edges
- Exhaust components
- Moving steering parts
Improper routing can eventually cut insulation, creating shorts or complete system failure. Always secure wiring with appropriate clips and protective loom.
Mistake #4: Skipping Waterproof Connections
Wheel lights are constantly exposed to:
- Rain
- Mud
- Snow
- Dirt
- Road salt
- Pressure washing
Leaving electrical connections exposed allows moisture to enter the system.
Always use:
- Waterproof connectors
- Heat-shrink tubing
- Weather-resistant seals
Proper waterproofing dramatically increases the lifespan of your lighting system.
Mistake #5: Incorrect Controller Placement
Your controller is the brain of the entire lighting system.
Installing it in an exposed location can lead to:
- Water damage
- Connection problems
- Signal interference
- Premature failure
Mount the controller in a dry, protected area where it's still accessible for future maintenance.
Mistake #6: Installing Lights Too Close to Moving Components
Wheel lights should never interfere with suspension travel or steering movement.
Before tightening everything permanently:
- Turn the steering wheel fully left and right.
- Compress the suspension if possible.
- Check brake clearance.
- Verify tire clearance.
Testing movement before driving helps prevent expensive damage later.
Mistake #7: Ignoring Brightness and Positioning
Simply installing the lights isn't enough.
Poor placement often creates:
- Dark spots
- Uneven illumination
- Excessive glare
- Visible LED hotspots
Spend time adjusting each light before final mounting.
A balanced lighting pattern creates a much cleaner appearance.
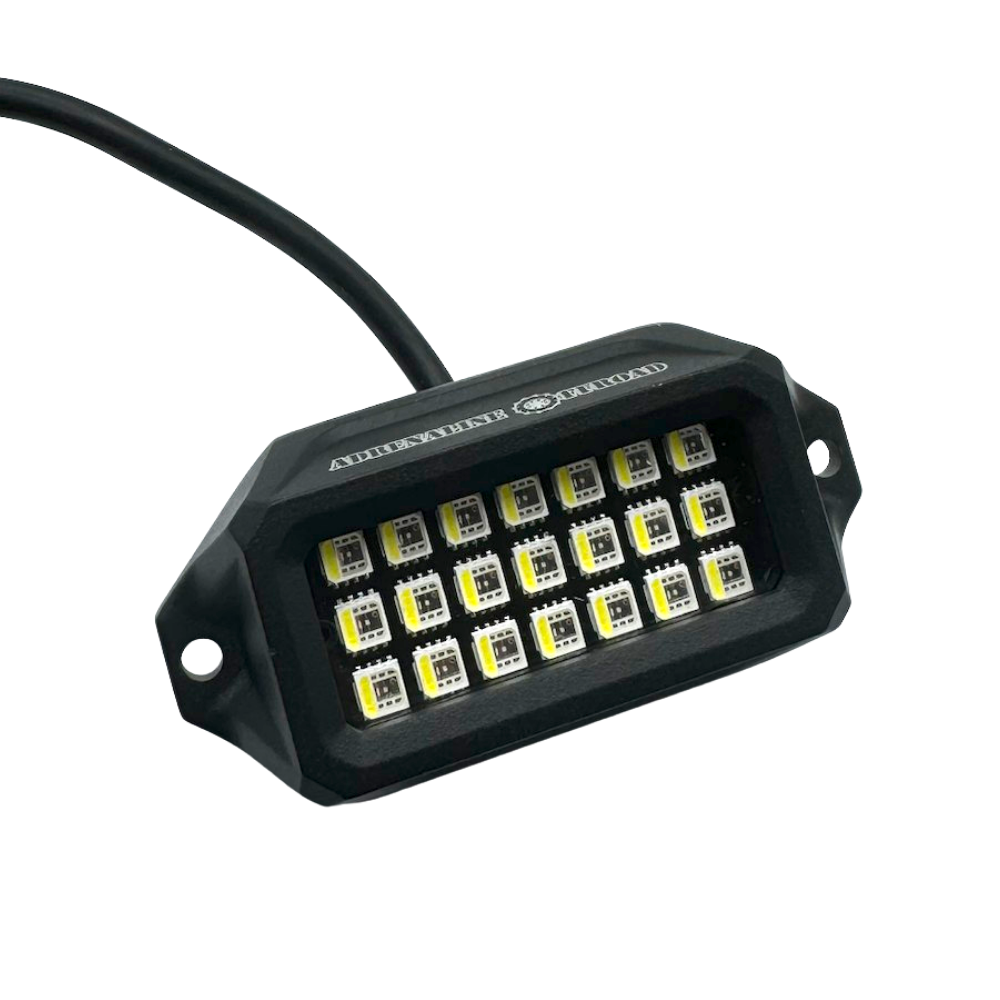
Many truck owners choose 12 Row Switchback Wheel Lights because they provide excellent light distribution across larger wheel setups.

Mistake #8: Forgetting to Test Everything Before Final Assembly
Never complete installation without testing every function.
Check:
- Every light
- Every color
- White mode
- RGB effects
- Brightness control
- App connectivity
Testing first saves hours of troubleshooting later.
If you experience issues after installation, Tips for Maintaining Your LED Wheel Lights includes simple maintenance practices that help keep your lighting system performing like new.
Mistake #9: Ignoring Local Lighting Laws
Many drivers focus only on installation while forgetting legal requirements.
Some states restrict:
- Blue lighting
- Red lighting
- Flashing effects
- Brightness levels
Knowing your local regulations helps you avoid unnecessary tickets.
For a complete legal overview, Are Wheel Lights Illegal? What You Need to Know explains how wheel light laws vary across different states.
Mistake #10: Choosing Cheap Wheel Lights
Price shouldn't be the only factor when choosing a wheel lighting kit.
Lower-quality systems often suffer from:
- Weak brightness
- Poor waterproofing
- Inferior LEDs
- Low-quality controllers
- Shorter lifespan
Investing in premium lighting usually costs less over time because the components last longer and require fewer repairs.
At Adrenaline Offroad Outfitters, our lighting systems are designed for truck owners who want dependable performance on the road, at shows, and on the trail.
Many enthusiasts choose Quad Row RGB+W Wheel Lights for their exceptional brightness and dedicated white lighting mode, while others prefer Infinity Chasing Wheel Lights for their eye-catching animated lighting effects.
For drivers looking to build a complete synchronized lighting setup, UFO ULTRA GLOW (Bundle Kits) combine multiple lighting products into one seamless system.
Pro Tips for a Clean Installation
For the best results:
- Read the installation manual completely.
- Disconnect the battery before wiring.
- Protect all wiring with loom.
- Use waterproof electrical connections.
- Secure every wire properly.
- Test everything before final assembly.
- Double-check steering and suspension clearance.
Taking these extra steps results in a safer, cleaner, and more professional-looking installation.
Final Thoughts
Installing wheel lights isn't difficult, but small mistakes can lead to big problems later.
By avoiding poor wiring, incorrect sizing, weak mounting hardware, and improper controller placement, you'll enjoy a lighting system that performs reliably for years.
Whether you're building a daily driver, an off-road truck, or a show vehicle, choosing quality products and following proper installation practices makes all the difference.
At Adrenaline Offroad Outfitters, we're committed to helping truck enthusiasts build lighting systems that look incredible and perform just as well.
Frequently Asked Questions
Can I install wheel lights myself?
Yes. Most LED wheel light kits can be installed at home with basic tools, provided you follow the manufacturer's instructions carefully.
How long does it take to install wheel lights?
Most installations take between 3 and 6 hours, depending on your truck and the complexity of the lighting system.
Do I need to remove my wheels?
In many cases, yes. Removing the wheels provides easier access for mounting and wiring.
Why are my wheel lights flickering after installation?
Loose wiring, poor grounding, damaged connectors, or moisture inside electrical connections are the most common causes.
How can I make my wheel lights last longer?
Use quality components, waterproof every connection, secure all wiring properly, and perform regular inspections to keep your lighting system in excellent condition.